
Who can do what
Members who open a permit page directly see an access-restricted message.
Open Permits
In the left navigation, under Compliance, choose Permits (the path is/permits). The page lists one card per permit cycle, sorted by name, with a Permit button in the top right to create a new one. If nothing has been created yet the page shows No permit cycles with the note No permit cycles have been created yet.
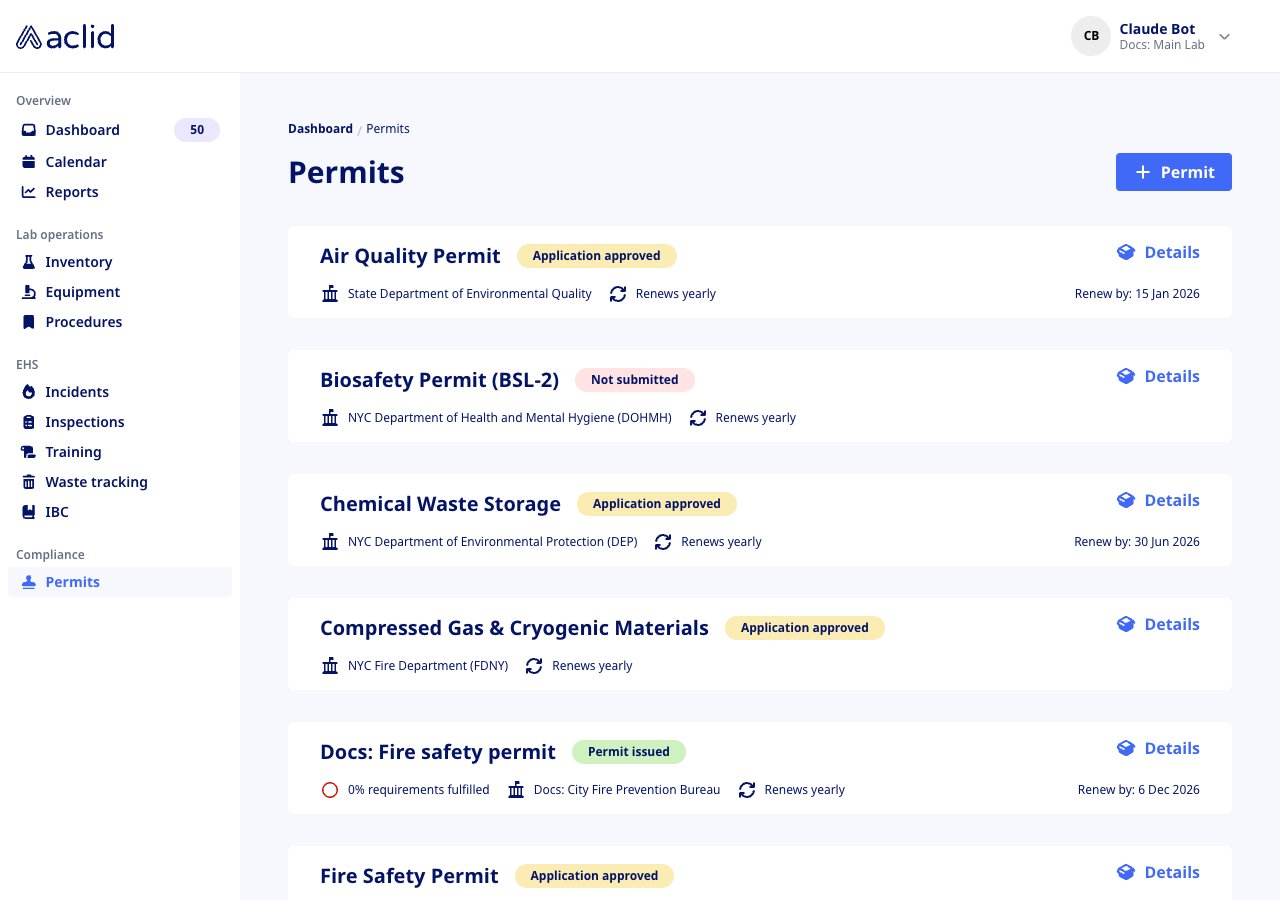
The permit cycle cards
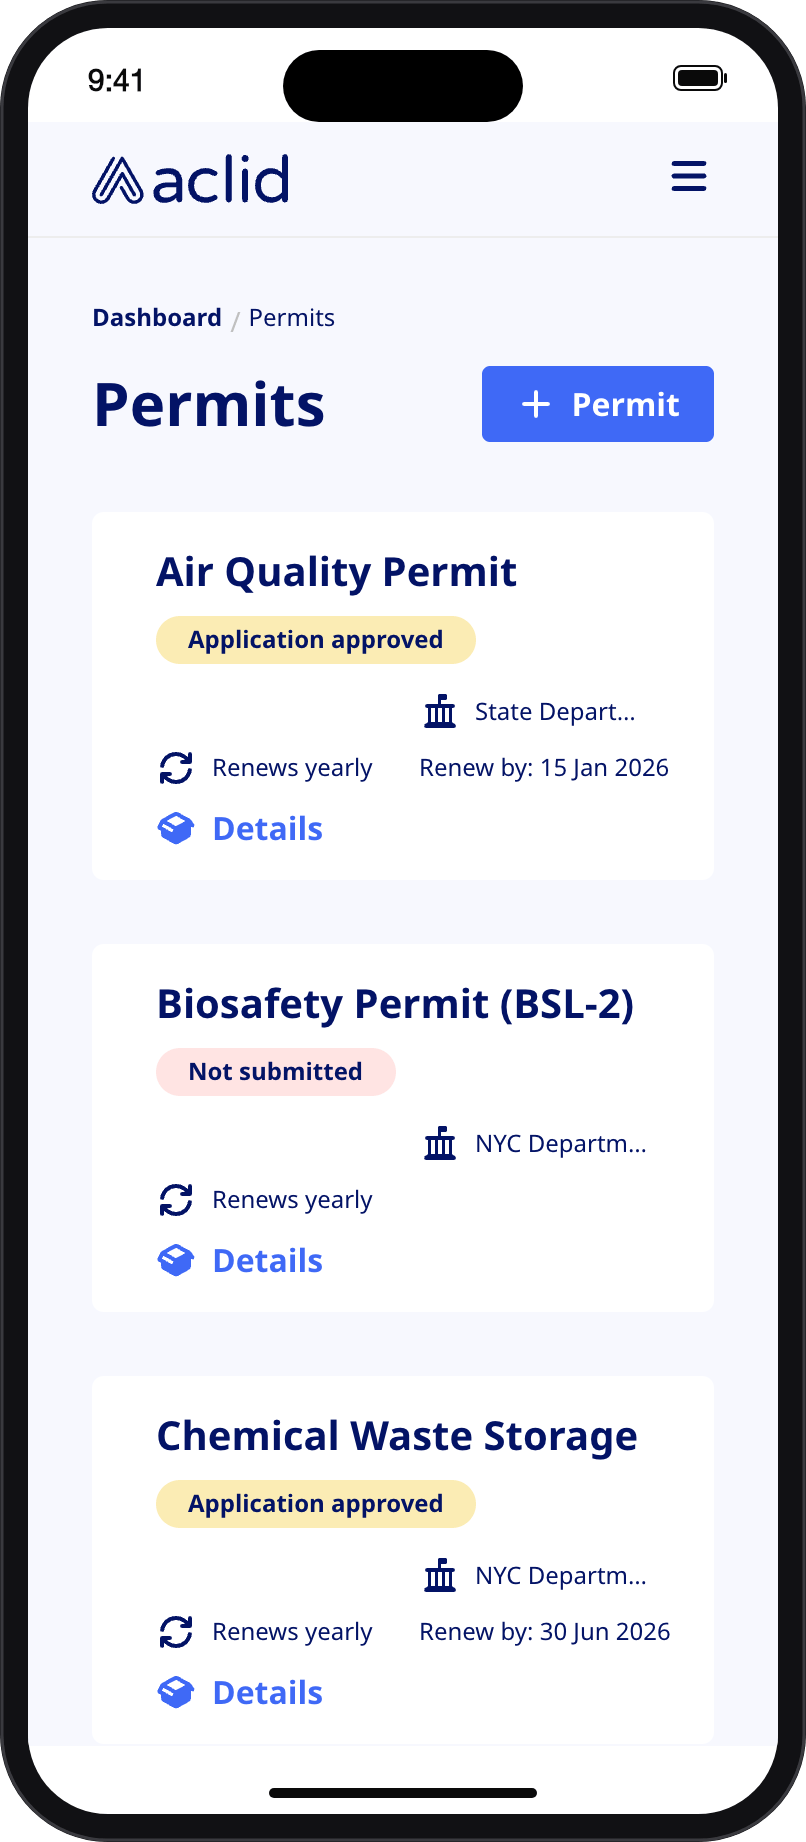
The same list on a phone
Key concepts
- Permit cycle: a permit your organization holds across its applications and renewals. It has a name, a permit number and an issuing agency.
- Permit: the record currently in force for a cycle, with the status, key dates, requirements and tasks you see on the detail page.
- Status: where the current application stands. The five statuses, in order, are Not submitted (red badge), Application submitted, Application accepted, Application approved (all yellow) and Permit issued (green). A new permit starts as Not submitted unless you pick a status when creating it.
- Key dates: Last issued, Expiration, Last inspection and Next inspection. The expiration date drives the Renew by date on the card.
- Issuing agency: the government or regulatory body that issues the permit, with its location and a list of contact people (name and email).
- Requirements & conditions: what the permit obliges you to do, for example a yearly report or a suppression-system inspection. A requirement counts as met once at least one protocol, policy or document is linked to it.
- Permit tasks: actions linked to the permit. Every permit gets a Submit permit application task when it is created; it is created unassigned, so assign it to someone if a member should see it on their Dashboard.
Tasks
Create a permit
Admins only.
- On the Permits page, click Permit.
- In the New permit dialog, enter the Permit name and the Permit number as printed by the agency. Both are required.
- Optionally pick the Current status. Leave it empty to start at Not submitted.
- Click Create. The new card appears in the list in alphabetical order, and the permit gets its Submit permit application task. Open Details to add dates, the agency and requirements.
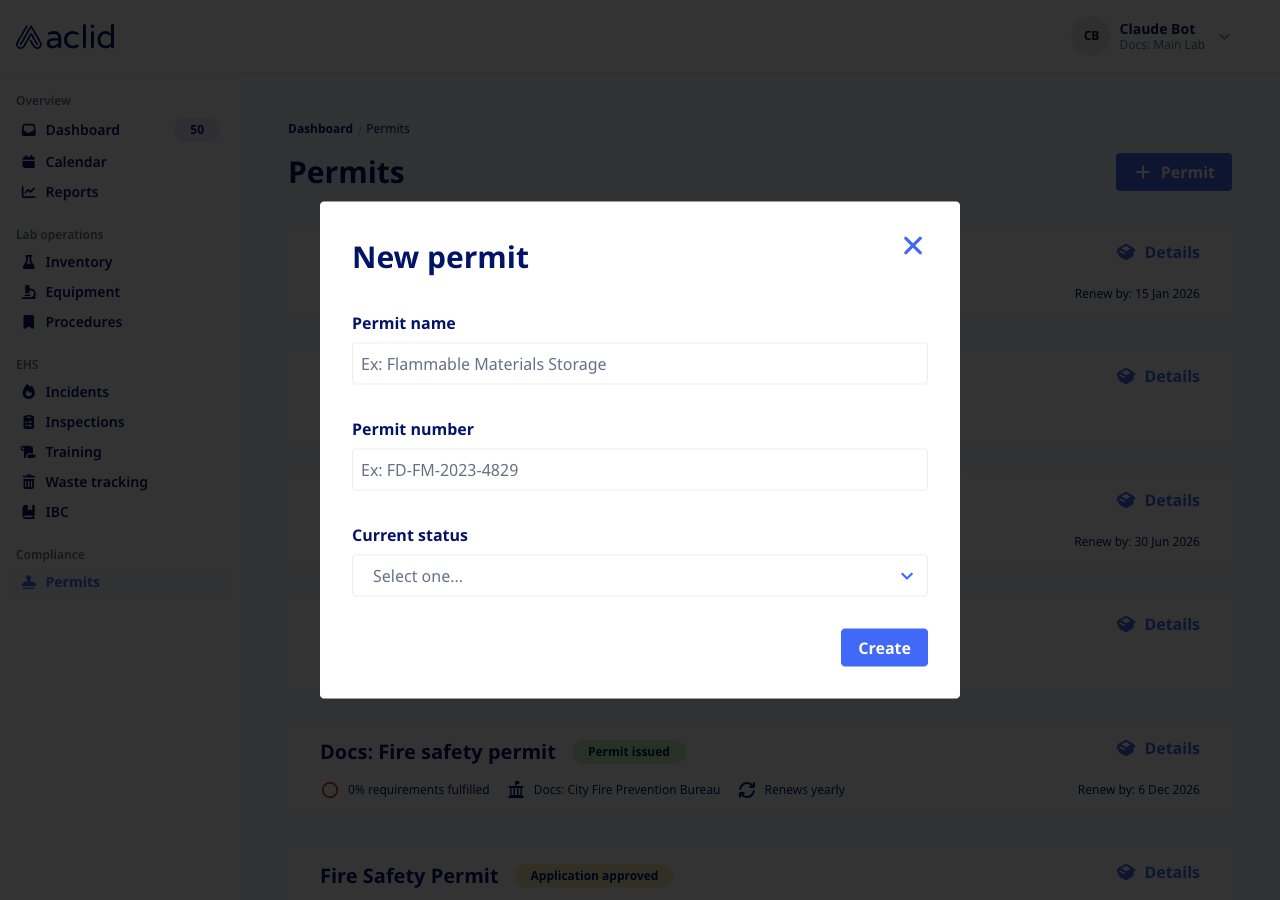
The New permit dialog
Review a permit and set its key dates
Admins only.
- Click Details on a card. The detail page shows the permit name with its status and permit number badges, then Key dates, Requirements & conditions and Issuing agency, with Actions on the right.
- In Key dates, click Edit to open Edit key dates, pick any of Last issued, Expiration, Last inspection and Next inspection, and click Save. Dates that have never been set show as a dash. Clearing a date that is already set and saving leaves it unchanged.
- When a permit is still Not submitted and its expiration is 30 days away or less, a red Reapplication deadline banner appears above the dates, and the card in the list gets a warning triangle next to Renew by.
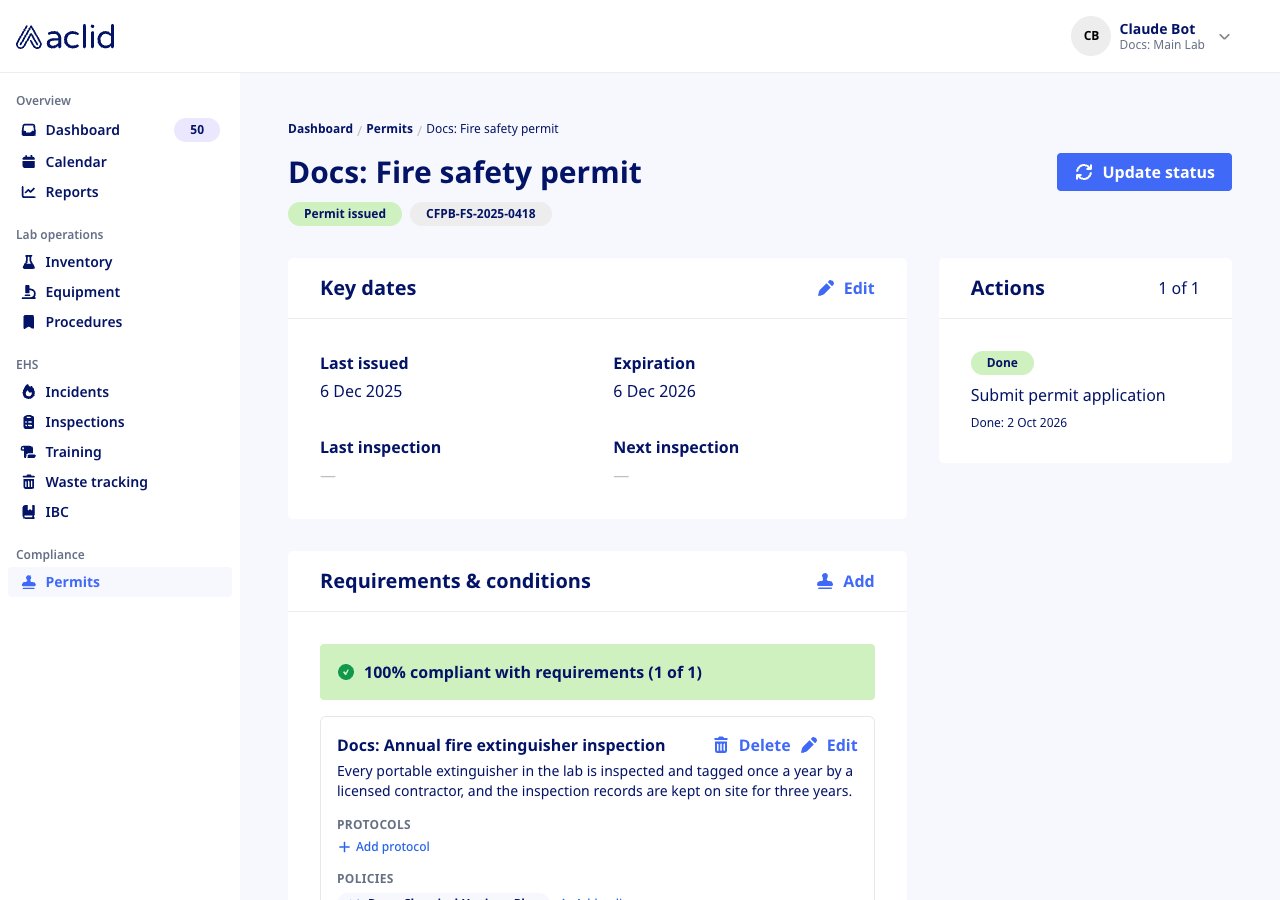
A permit detail page with key dates, requirements and actions
Update the application status
Admins only.
- On the detail page, click Update status (top right, or on the Submit permit application task in Actions).
- In the Update status dialog, choose the new Status and click Update. The banner Permit status updated confirms the change.
- Moving a permit out of Not submitted marks its Submit permit application task as done; moving it back to Not submitted reopens that task. The other direction also works: when every task on a Not submitted permit is marked done, the status moves to Application submitted by itself.
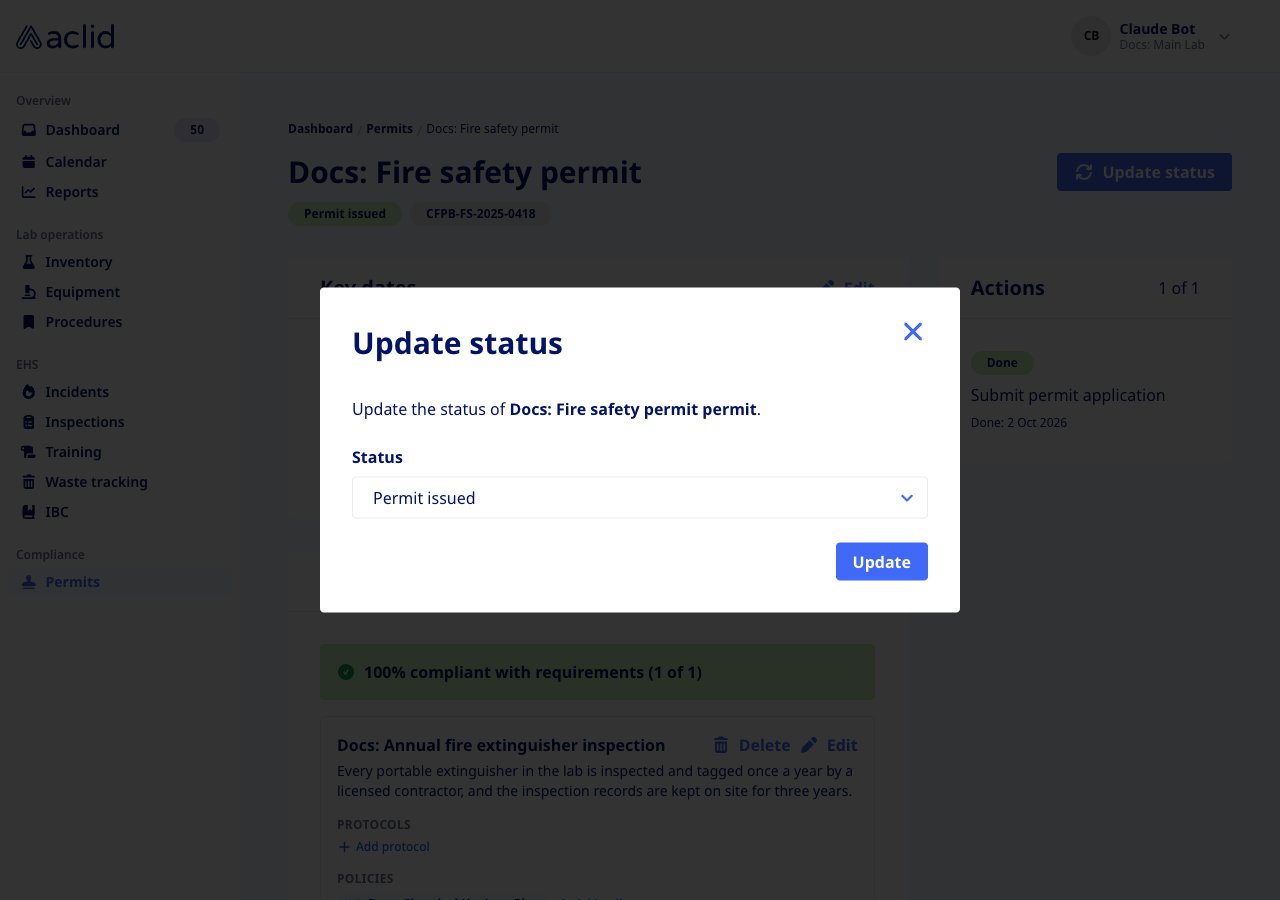
The Update status dialog
Record the issuing agency and its contacts
Admins only.
- In Issuing agency, click Add issuing agency (or Edit if one is already set). Enter the Agency name and, optionally, its Location, then click Save. The location shows as a badge next to the agency name.
- Click Add contact, enter the person’s Name and Email, and click Save. Contacts are listed under the agency.
- To remove a contact, click the trash icon on their row. The contact is removed immediately, without a confirmation step.
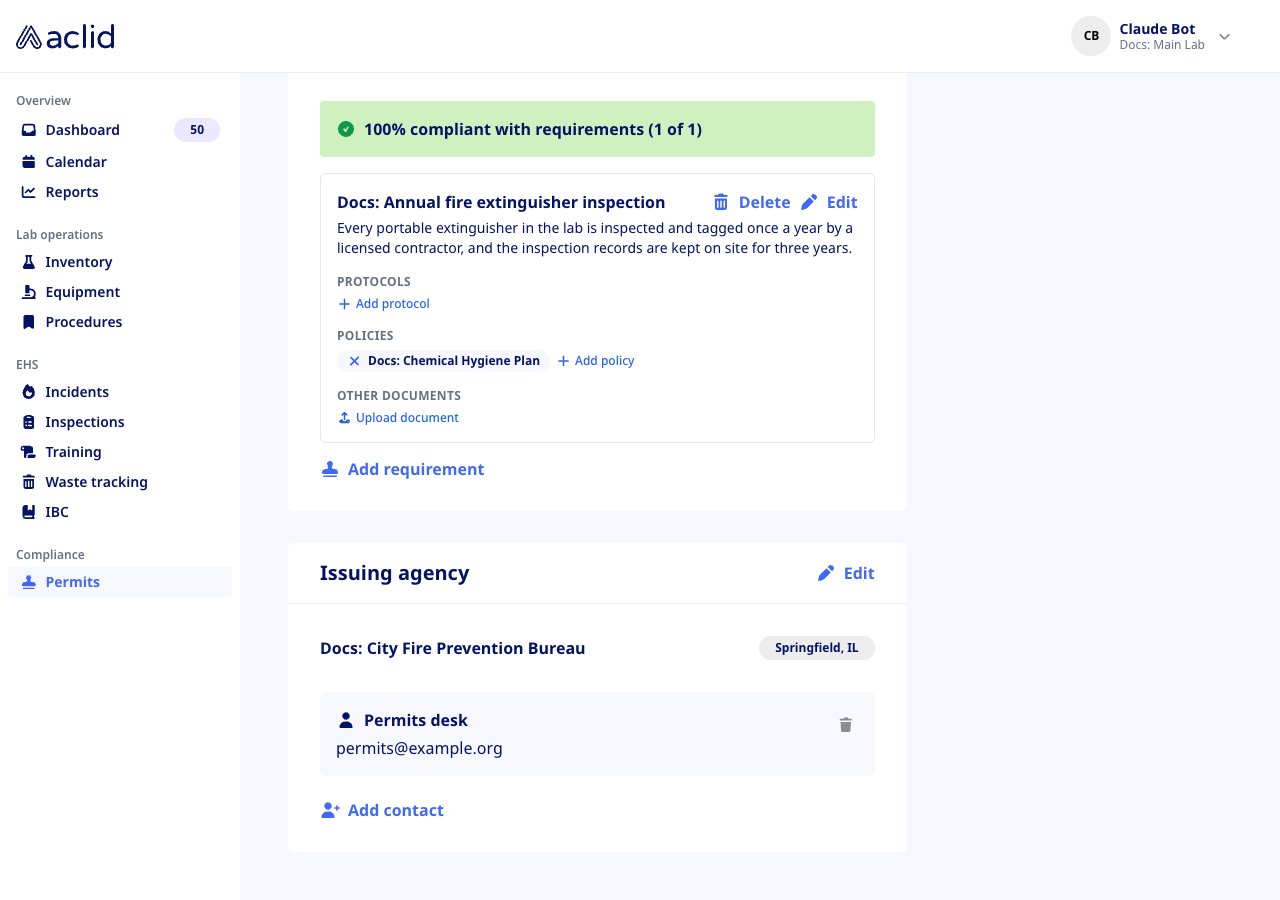
Issuing agency with one contact, below the requirements section
Add requirements and show they are met
Admins only.
- In Requirements & conditions, click Add (or Add requirement). In the Add permit requirement dialog, enter the Requirement and, if you like, a Description (optional), then click Add requirement.
- Each requirement lists its Protocols, Policies and Other documents. Click Add protocol or Add policy and pick from your organization’s procedures (only published protocols are offered); the linked item appears as a chip that opens it in a new tab. Click the chip’s cross to unlink it.
- Click Upload document, drop or choose a file, adjust the Document name (it defaults to the file name without its extension) and click Upload. The document chip opens the file; its cross deletes the document.
- Use Edit on a requirement to rename or describe it, or Delete and confirm with Delete requirement to stop tracking it.
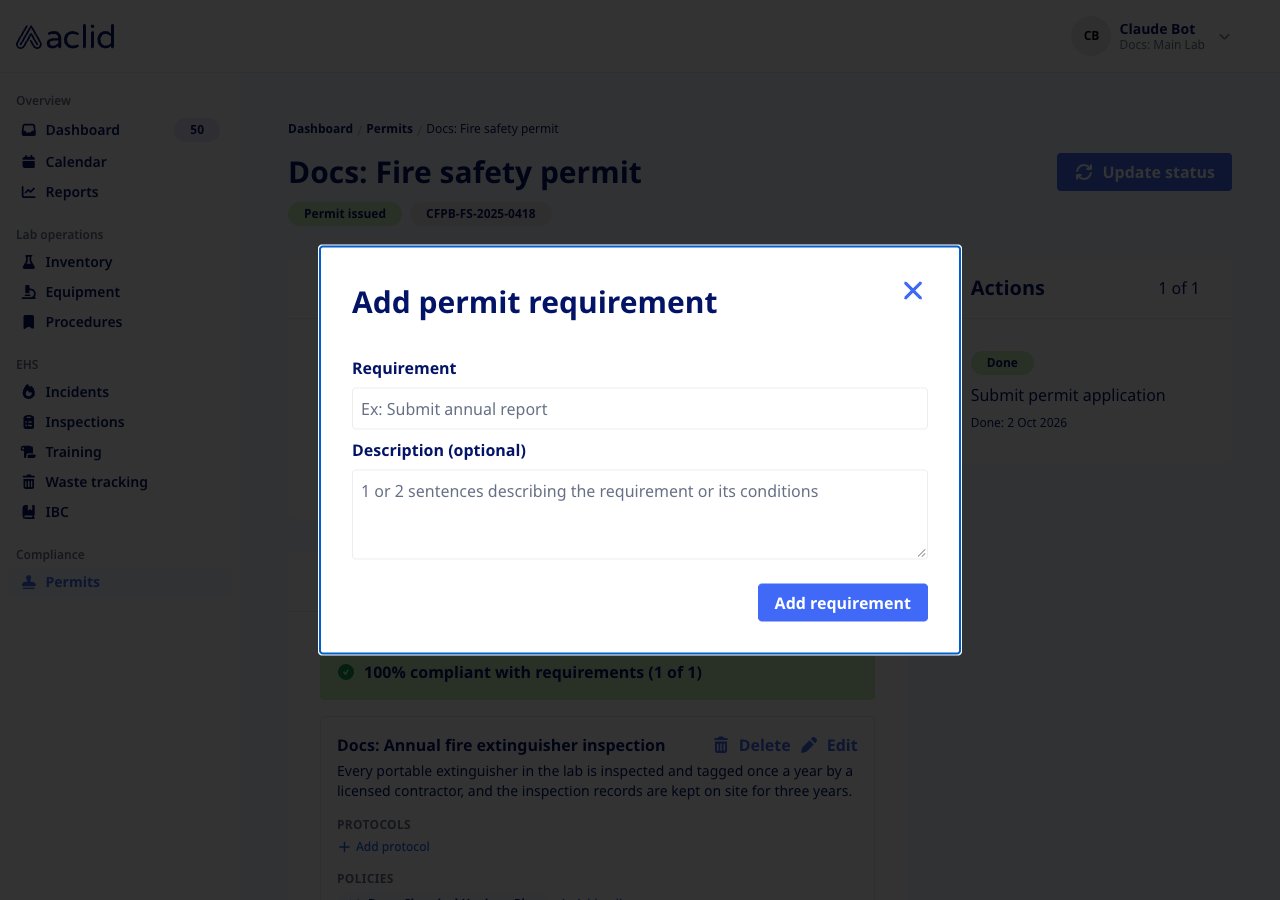
The Add permit requirement dialog
Reading the list
Each card in the list shows:- The permit name and its status badge: red for Not submitted, yellow for Application submitted, Application accepted and Application approved, green for Permit issued.
- A requirements indicator, once the permit has requirements: a green check for 100% requirements fulfilled, a half-filled yellow circle for a partial percentage, a red outline for 0% requirements fulfilled.
- The issuing agency name, Renews yearly, and Renew by followed by the expiration date. A red warning triangle before Renew by means the permit is Not submitted and expires within 30 days.
- Details, which opens the permit.
Tips and limits
- The whole module is admin-only. The only way a member meets a permit is through a task assigned to them on the Dashboard.
- Permit name and Permit number are required to create a permit; everything else is added from the detail page.
- Creating a permit in the app creates just the Submit permit application task.
- The list card counts a requirement as fulfilled only when it has an uploaded document, while the detail page also counts linked protocols and policies, so the two percentages can differ for requirements met by a protocol or policy alone.
- Renews yearly is shown on every card; there is no renewal-frequency setting yet.
- Deleting a contact, unlinking a protocol or policy, and deleting a document all take effect immediately, with no confirmation. Deleting a requirement asks you to confirm.
- Requirement documents can be PDF, Word or Pages files, or PNG or JPEG images, up to 25 MB each. The file picker also lists other types, but those are rejected when you click Upload.
- Only published protocols can be linked to a requirement, and a protocol that is later unpublished disappears from the requirement until it is published again.
- The detail page shows only the permit record currently in force; earlier renewals are not shown in the app.
- Opening a permit that no longer exists shows Permit cycle not found.